Authentication
Authentication is the first step to be able to communicate with the Nexus API. In order to establish communication with the Nexus API you will have to create and use a Service Account. The steps below will show you how to create such an account to use to receive your authentication token. This token is used to allow access to all the subsequent API calls.
Create a Sevice Account and assign a role(s) to it
Once logged into Nexus, click on the Identity tab to switch to the Nexus Identity portal.
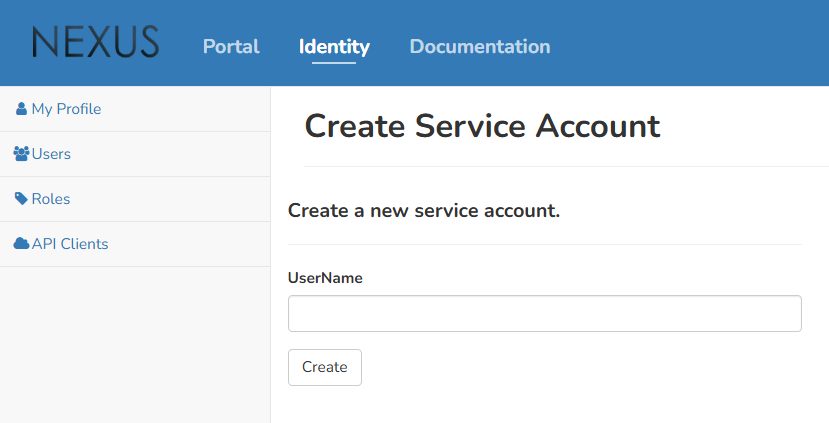
Select Accounts in the side menu and create a new Service Account.

Fill in the username and select the Create button.
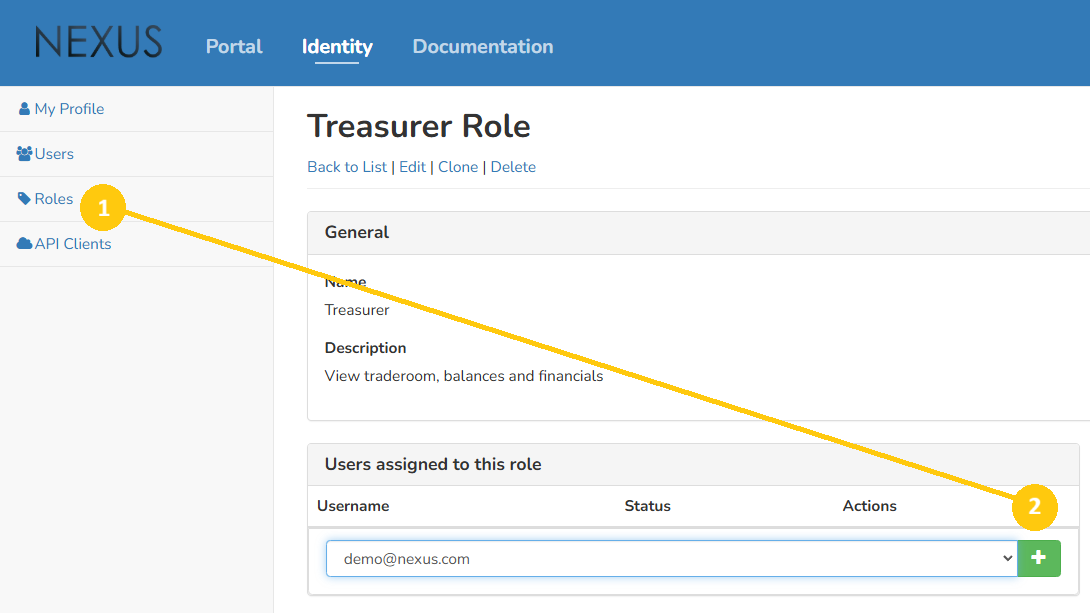
Now that the Service Account has been created, find it in the account list and take note it has no roles linked to it to manage its access. Assign the appropriate role(s) to it by selecting Roles in the side menu, selecting a role, and adding the respective Service Account to the list of accounts assigned to the role. For more information on avaialble default roles or new customized roles, refer to the Knowledge base - Identity Account section.
NOTE
A User Account requires certain permissions to be allowed to create a Service Account, and even then might need additional validation from a seperate User Account.
Create an authentication token using your Service Account
After creating your Service Account, you can now use it to create an authentication token. If you are not yet logged into Nexus, do so now, and as in the previous set of steps, and click on the Identity tab to switch to the Nexus Identity portal.
Select Accounts in the side menu and search for your Service Account in the account list which you want to use to create the authentication token, keeping in mind the roles and permissions assigned to this Service Account.
Request an authentication token by selecting the Manage API Keys option from the Actions dropdown for your Service Account. Enter an identifier and appropriate expiry date, and select the Generate button.
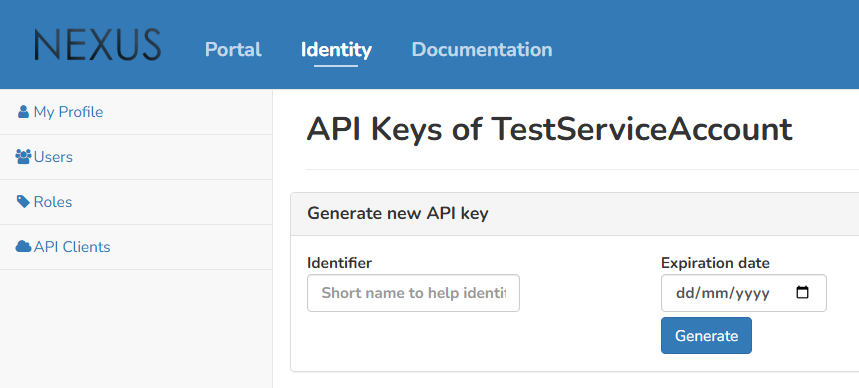
Copy the generated API key. This is your authentication token and needs to be immediately copied, as its not later retrievable, and you will have to generate a new one.
Use BearerToken authentication by adding an Authorization header and this token in your future API requests.
API endpoint URLs
As Nexus offers different environments, you should adjust the API call URLs according to your specific needs:
- Test Token environment: testapi.quantoz.com
- Production Token environment: api.quantoz.com
These are the most common ones you will probably end up using, however feel free to use the right one for your configuration.
API date/time format
If you prefer a single date/time format returned in our responses you can supply the header request_iso8601: true and the returned date/time objects will be shown in the format: yyyy-MM-ddTHH:mm:ssZ.